
For a professional landscape and wildlife photographer, Costa Rica’s true magic lies in its radical environmental transitions. Within a few hours’ drive, you can move from the harsh, high-contrast glare of a Pacific beach to the soft, diffused, ethereal mist of a high-altitude cloud forest.
To capture this country’s visual diversity, a cookie-cutter tour itinerary will not suffice. You need an route engineered specifically around tracking lighting angles, atmospheric conditions, and microclimate transitions.
At Jaco360, we have built the ultimate Coast to Clouds photography circuit. This professional itinerary starts at sea level along the Central and Southern Pacific coastlines before climbing up into the mountain peaks of the cloud forest, guiding you on how to adjust your camera settings and artistic approach for each distinct zone.
Phase 1: High Key Canopies and Coastal Lines (Manuel Antonio & Uvita)
The first phase of the circuit focuses on maximizing the fast, golden morning light of the Pacific coast.
Manuel Antonio National Park
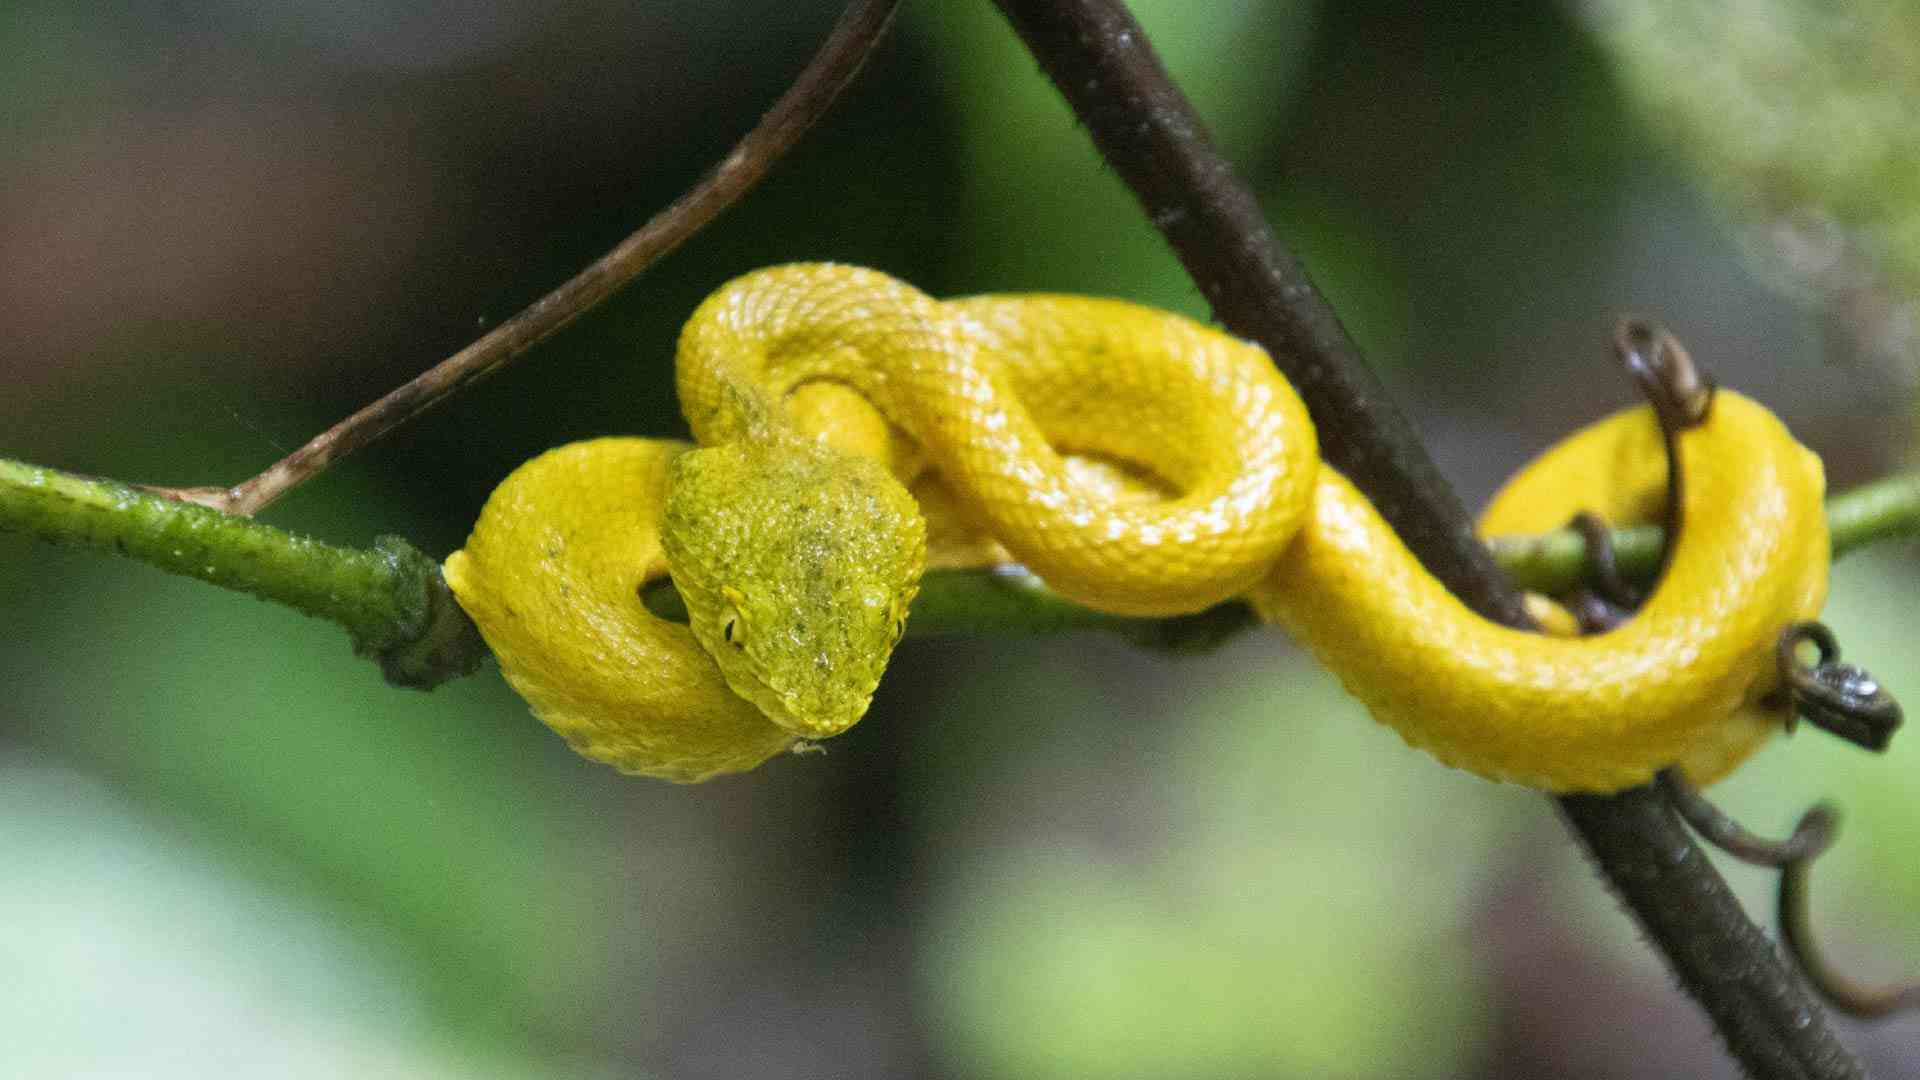
The goal here is simple: bird and mammal tracking before the intense midday sun creates blown-out highlights. By entering the park at first light, you catch the endemic Central American Squirrel Monkey active in the canopy. Before heading south past Jaco, our Naturalist’s Circuit Field Guide provides detailed maps on tracking species within the immediate Central Pacific transition zones.
The Photographic Strategy: Because you are shooting upward against a bright morning sky, you must override your camera’s automatic metering. Shoot in Manual Mode and dial in a positive exposure compensation ($+0.3$ to $+1.0\text{ EV}$) to prevent your subject from turning into a dark silhouette against the ocean backdrop. By 9:00 AM, pivot your lens down toward the turquoise coves and white sands to capture sweeping coastal landscapes utilizing a polarizing filter to deepen the blues and cut the surface glare on the water.

The Southern Extension: Uvita
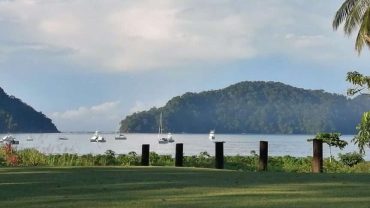
Moving south down the coast to Uvita, the focus shifts from dense canopy wildlife to epic, structural geography. Uvita is home to the famous Tombolo—a natural sand and rock formation shaped exactly like a whale’s tail.
The Photographic Strategy: This is your playground for aerial drone photography and long-exposure coastal work. If you are flying a drone, schedule your flight at a mid-to-low tide when the structural lines of the whale’s tail are crisp and mirrored by the receding surf. For ground-level work, attach a 6-stop or 10-stop Neutral Density (ND) filter to your wide-angle lens during the golden hour, allowing for a 15-second shutter speed that irons out the churning Pacific into a smooth, misty fog around the dark basalt rocks.
Phase 2: The Misty Highlands and Macro Details (Monteverde)
Once you have captured the sun-drenched coast, the itinerary climbs thousands of feet above sea level into the ancient, moody atmosphere of the Monteverde Cloud Forest Reserve. The visual narrative changes completely here: you are moving away from sweeping landscapes and fast shutter speeds into a world of texture, deep shadows, and delicate macro details.
The Canopy of Mist
In Monteverde, the sky is rarely clear. The forest is perpetually draped in a sea of low-hanging clouds and moisture. While this sounds challenging, it is actually a photographer’s dream: the cloud cover acts as a massive, natural softbox, eliminating harsh shadows and saturating the deep greens of the jungle.
The Photographic Strategy: This is the realm of the Resplendent Quetzal and specialized hummingbird photography. Because the canopy is dark, you will need to push your ISO higher (ISO 1600 to 3200) to maintain a fast enough shutter speed to freeze a bird in flight. If you are traveling deep into the cloud forest canopy without massive telephoto primes, our Guide to Digiscoping in Costa Rica explains how to link high-end spotting scopes with lightweight mobile bodies for crystal-clear compositions. Keep your white balance set to “Cloudy” or “Shade” to preserve the warm tones of the forest, preventing the mountain mist from washing your images out with a cold, blue cast.
The Micro World: Fluorescent Mosses and Orchids
When the mist becomes too dense for telephoto tracking, look down. Monteverde houses a staggering percentage of the world’s orchid species, alongside thousands of varieties of mosses, ferns, and fungi growing along the cloud forest floor.
The Photographic Strategy: Swap your telephoto lens for a dedicated 90mm or 105mm macro lens. Because the wind frequently moves the vegetation in the cloud forest, use a sturdy tripod and a small reflector panel to bounce natural light onto your subject. To capture the hyper-vibrant, almost fluorescent green mosses that coat the ancient trees, utilize a technique called focus stacking—taking multiple shots at slightly different focus points and merging them later in post-processing for a front-to-back, razor-sharp image that texturally jumps off the screen.
The Contrast Takeaway
By executing the Coast to Clouds itinerary, your portfolio gains a profound structural balance. You contrast the clean, sharp, minimalist lines of Uvita’s coastline with the chaotic, layered, texture-rich complexity of Monteverde’s highland trails.
Ready to secure your expedition dates? Plan your next custom Costa Rica Private Wildlife Photography Tour with Jaco360.
Frequently Asked Question on Costa Rica Photography
Q: What lenses are essential for a Costa Rica Coast to Clouds photography tour?
A: You will need a versatile three-lens kit: a wide-angle lens (16-35mm) for the sweeping beaches of Manuel Antonio and Uvita, a telephoto zoom (100-400mm or 200-600mm) for canopy wildlife, and a dedicated macro lens (90mm-105mm) to capture the intricate orchids and mosses of Monteverde.
Q: How do I protect my camera gear when moving from the hot coast to the cold cloud forest?
A: The temperature drop when ascending to Monteverde can cause internal condensation. Keep your gear packed tightly inside your zipped camera bag with several large silica gel packets during the drive up the mountain, allowing the equipment to acclimate slowly to the cooler, high-altitude air.
Q: Is a drone worth bringing for the coastal portion of the itinerary in Uvita?
A: Absolutely. Uvita’s famous “Whale Tail” sandbar formation can only be fully appreciated and framed effectively from an aerial perspective. Ensure you fly at low tide during early morning or late afternoon for the best shadows and dramatic coastal contrast.
Q: How do I handle the low-light conditions inside the Monteverde Cloud Forest?
A: Don’t be afraid to push your camera’s ISO up to 1600 or 3200 to maintain a fast shutter speed under the dense, cloudy canopy. Modern noise-reduction software can easily clean up digital grain, but it cannot fix a blurry image caused by a slow shutter speed.
Find out more on Jaco360 photography opportunities on our Private Wildlife Photography Tour.
Jaco Beach, San Jose Costa Rica
+01 506 8302 4168 (Phone or WhatsApp)
info@jaco360.com


Comment (0)